
3D Model on Prodcut page
Show a 3D model on a product page, next to the product’s own images. The model is linked to the product, so it follows that product wherever the product template is used.
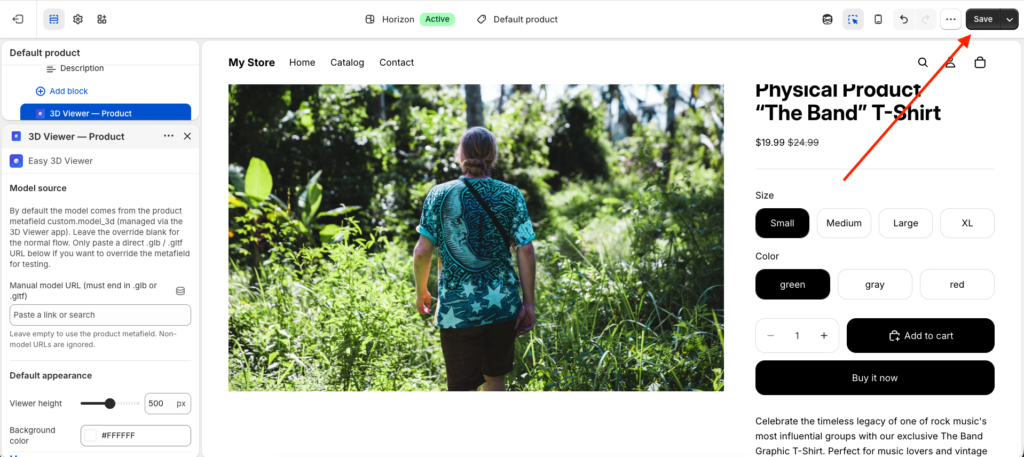
1. Add the app block to your product template
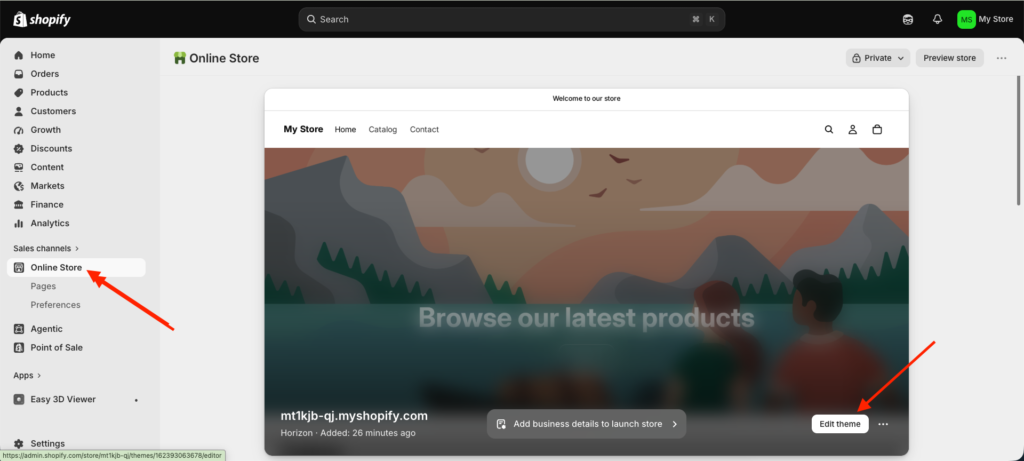
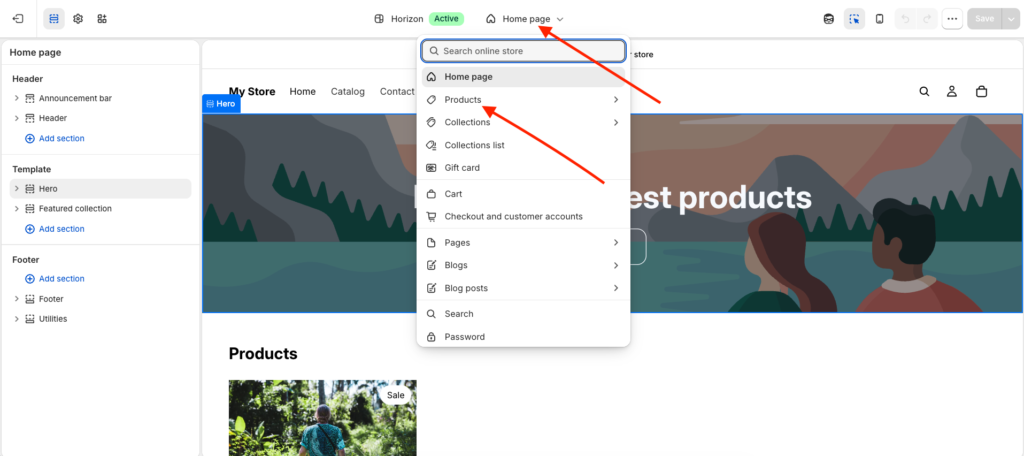
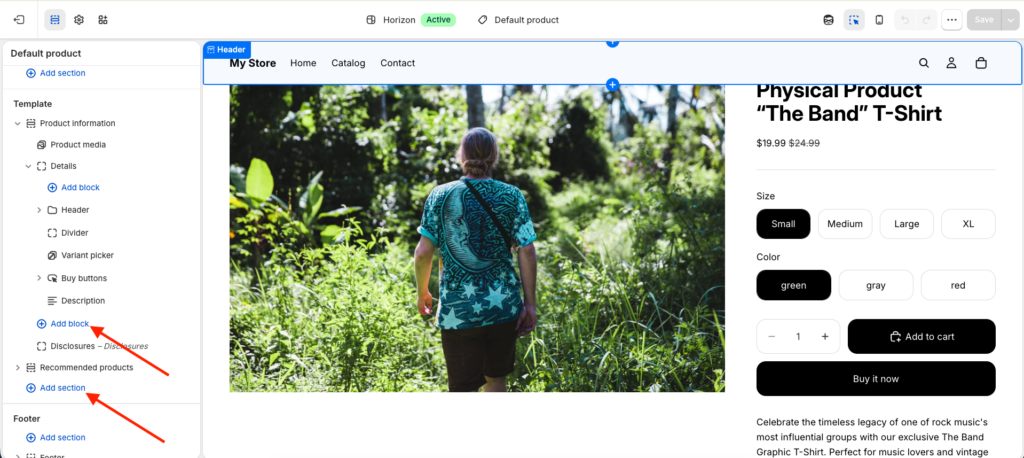
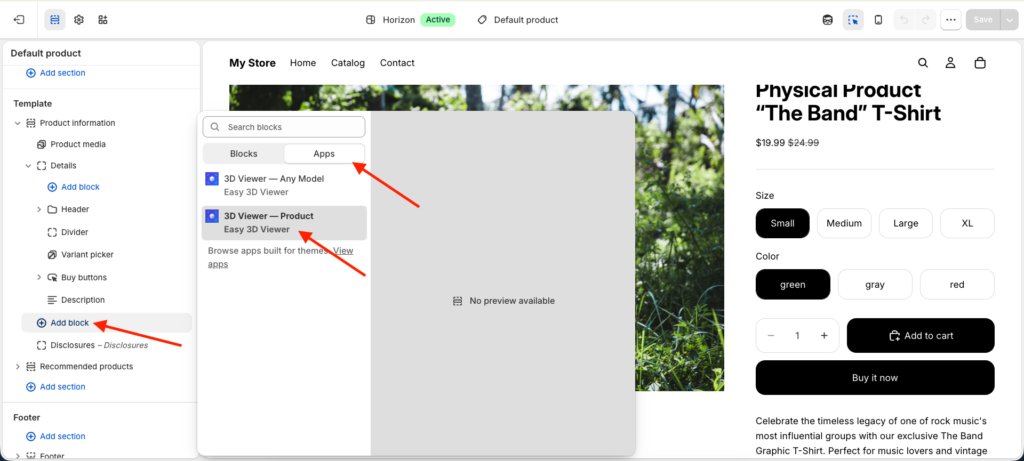
In Shopify admin go to Online Store > Themes > Customize, open a product template, click Add block, and choose 3D Viewer > Product. Place it where you want the viewer to appear and save.
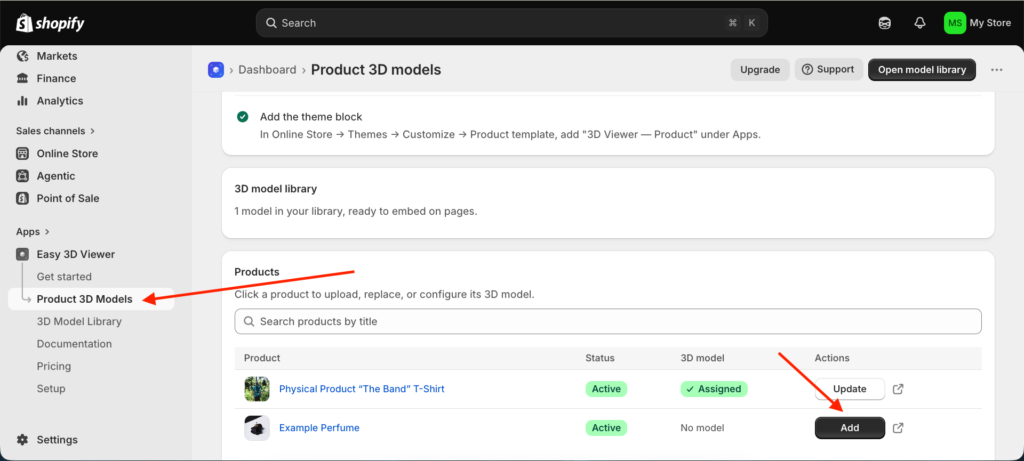
2. Assign a model to the product
Open the Easy 3D Viewer app, go to Product 3D models, and select a product. Upload a .glb or .gltf file (up to 20 MB) or pick one you already uploaded from the file library. The file is stored in Shopify Files and linked to the product through the custom.model_3d metafield.
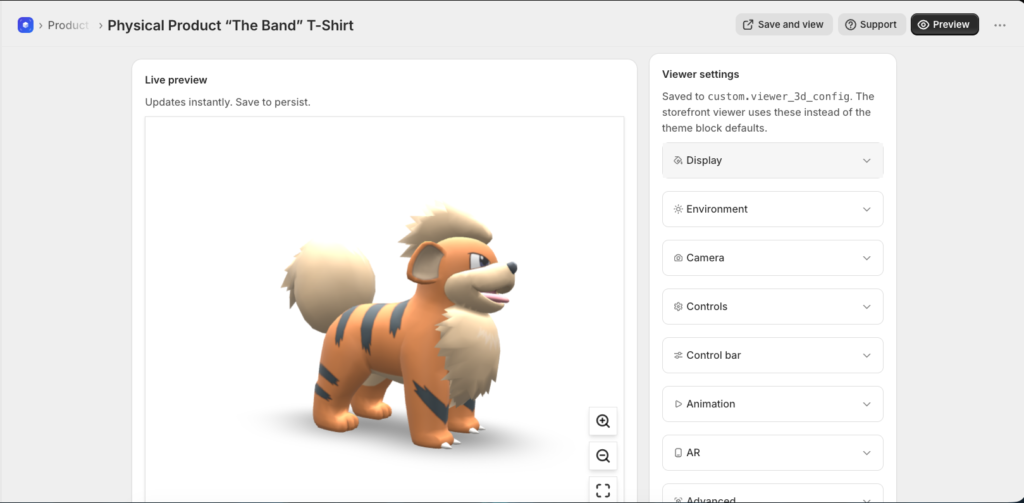
3. Adjust the viewer
On the same product screen, change background, lighting, camera, animation and AR settings. The preview updates as you change them. Click Save, then use Preview or Save and view to open the product page on your storefront.
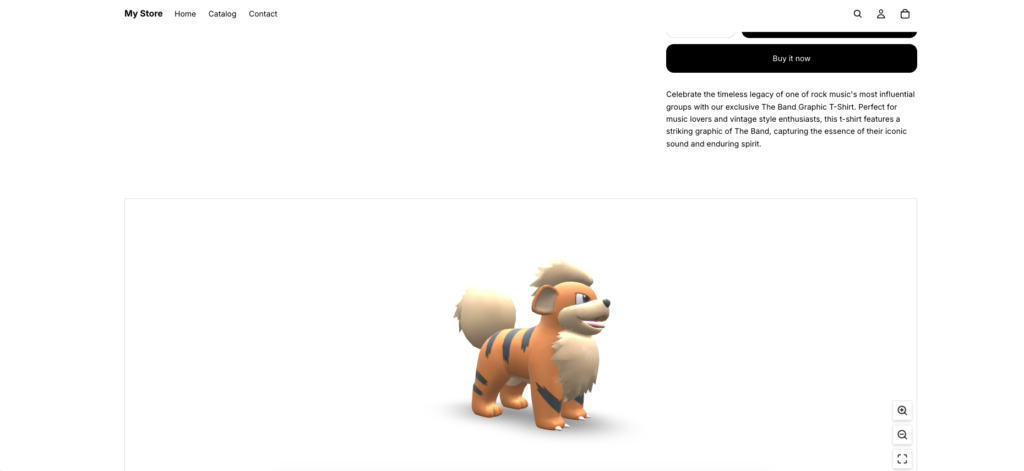
4. Check the result
Visit the product page. The viewer appears where you placed the block. Products without an assigned model show nothing, so the block is safe to keep in the template for every product.
Notes
Theme settings. The block has its own viewer height and background color. Whatever you set per product in the app overrides them.
Manual model URL. The block also accepts a direct .glb or .gltf URL. Use it only for testing. Leave it empty so the product metafield is used.
Removing a model. Click Remove model on the product screen. The product stops showing a viewer. The file stays in Shopify Files and can be assigned again later.
Was this page helpful?