
3D model anywhere on your storefront and theme
Show a model on a home page, a blog post, a landing page, or any theme section. The model comes from your 3D Models library in the app, so it does not have to belong to a product.
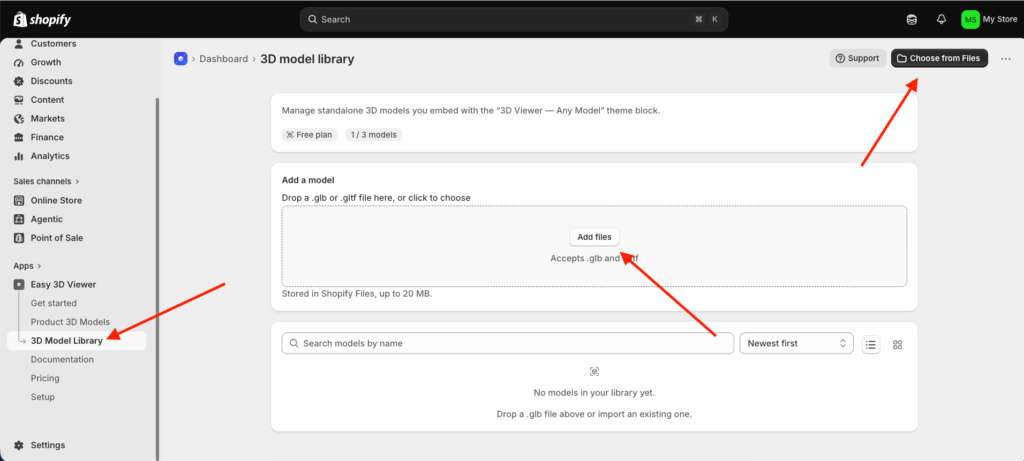
1. Add a model to the library
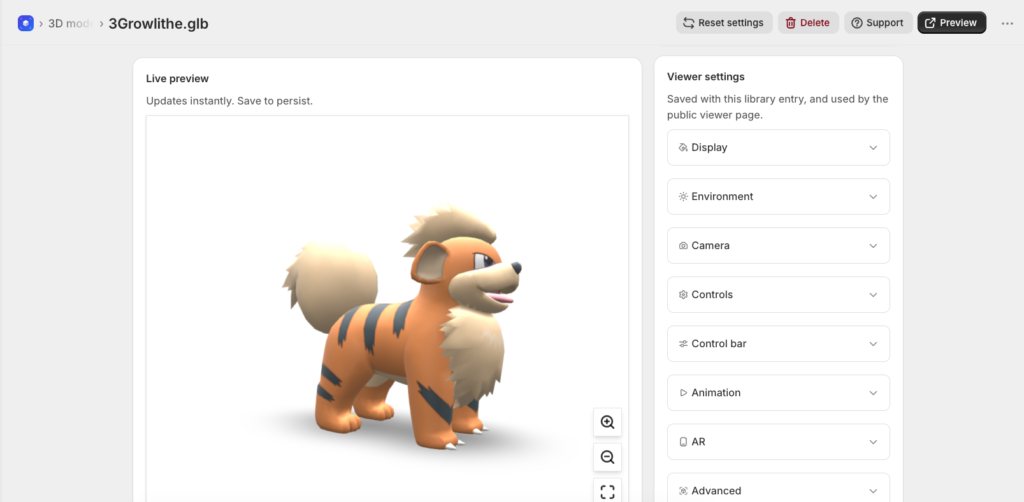
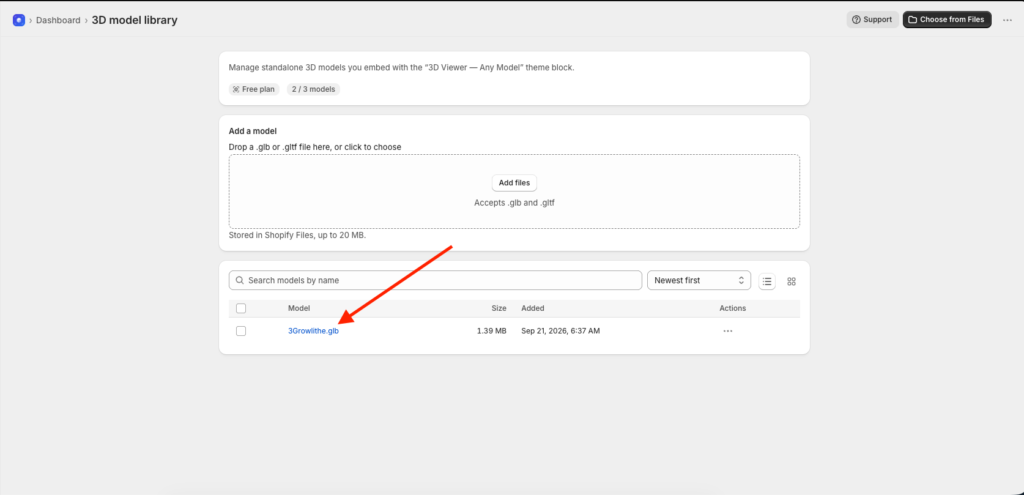
In the app open 3D Models, click Add model, and upload a .glb or .gltf file (up to 50 MB). Set background, lighting, camera, animation and AR settings, then save. These settings travel with the model.
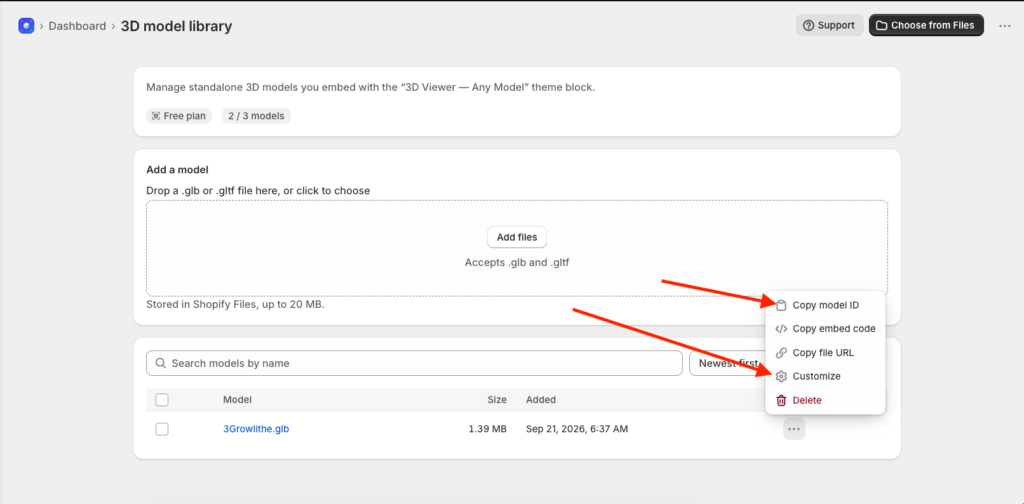
2. Copy the Model ID
Open the model in the library and copy its Model ID from the top of the page.
3. Place the viewer
Choose the method that fits where you want it:
Theme section (recommended)
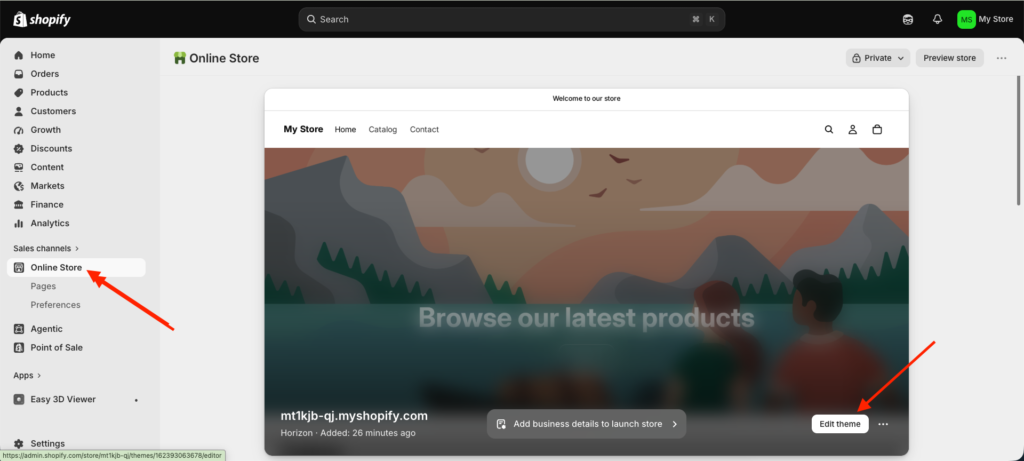
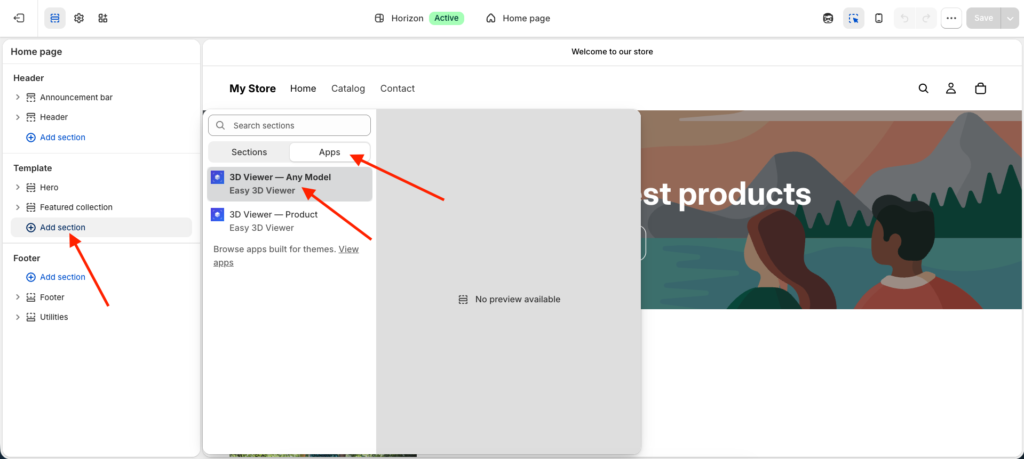
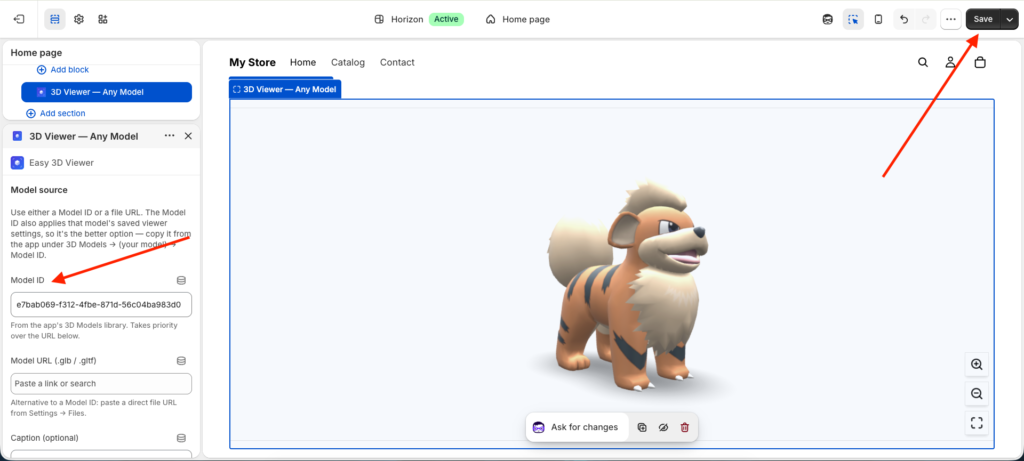
Go to Online Store > Themes > Customize, open the page you want, click Add block, and choose 3D Viewer – Any Model. Paste the Model ID into the Model ID field and save. The model loads with its saved settings. The block also has its own height, background, auto rotate, on screen controls, and an optional caption.
Embed code
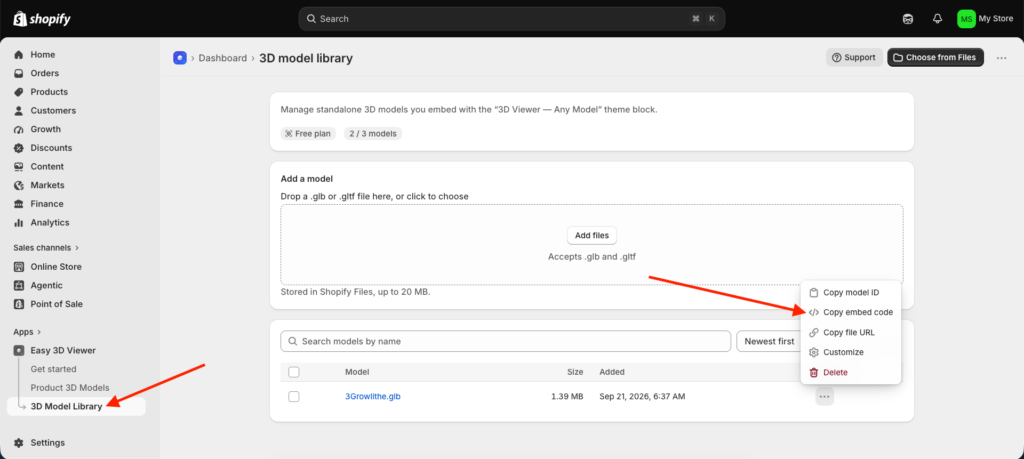
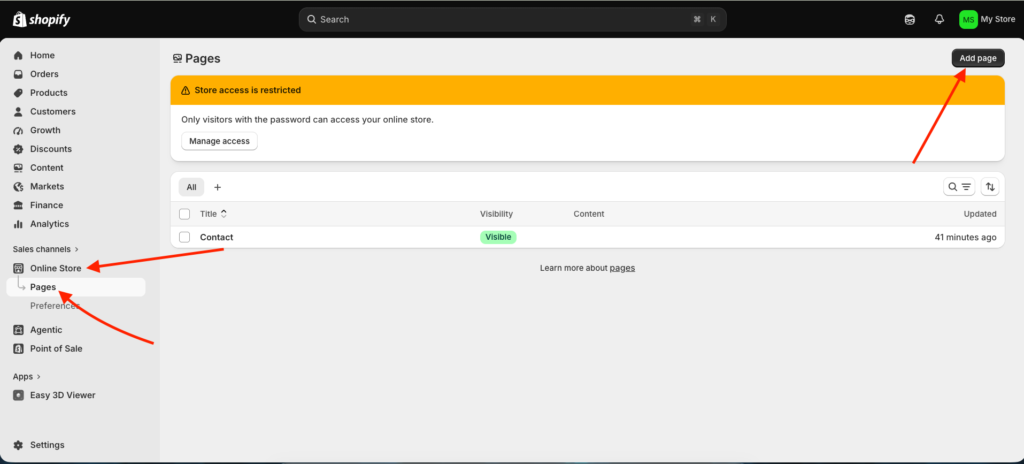
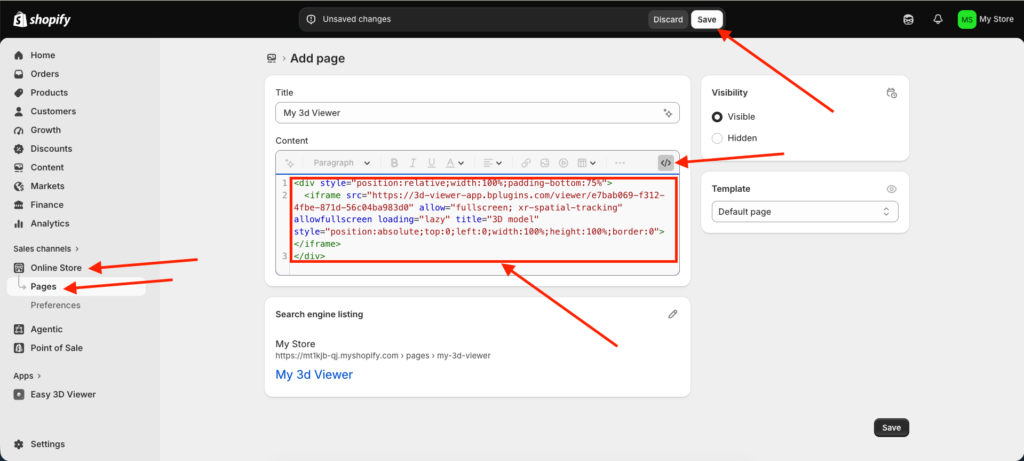
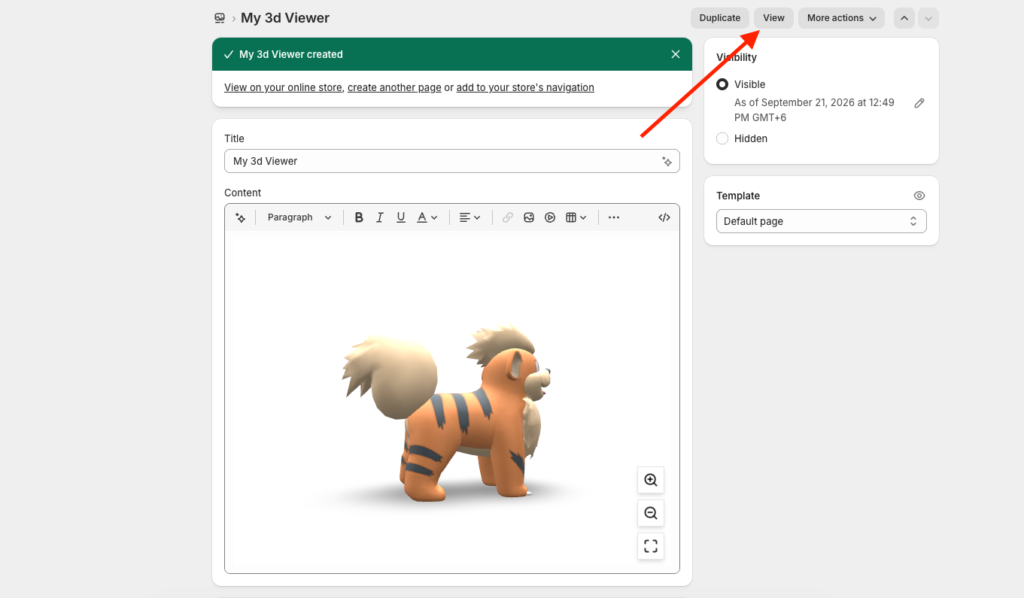
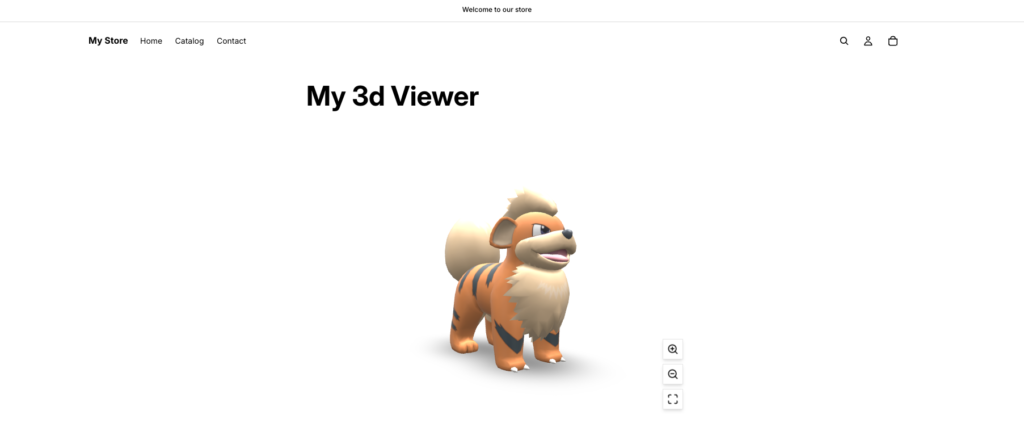
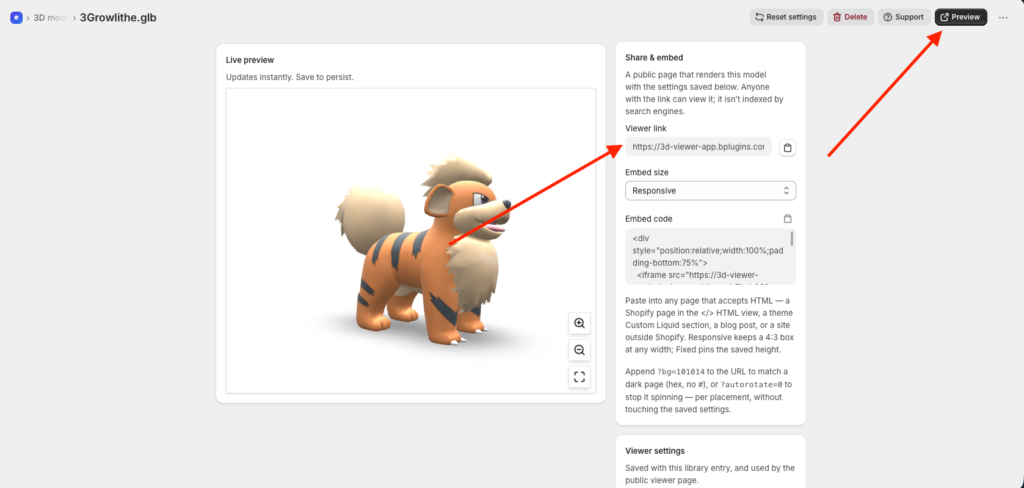
For a Shopify page body, an email safe landing page, or a site outside Shopify, open the model in the app and copy the Embed code. Pick Responsive or Fixed size, then paste the snippet into the page HTML. The snippet is a plain iframe with inline styles, so it survives Shopify’s page editor.
Direct link
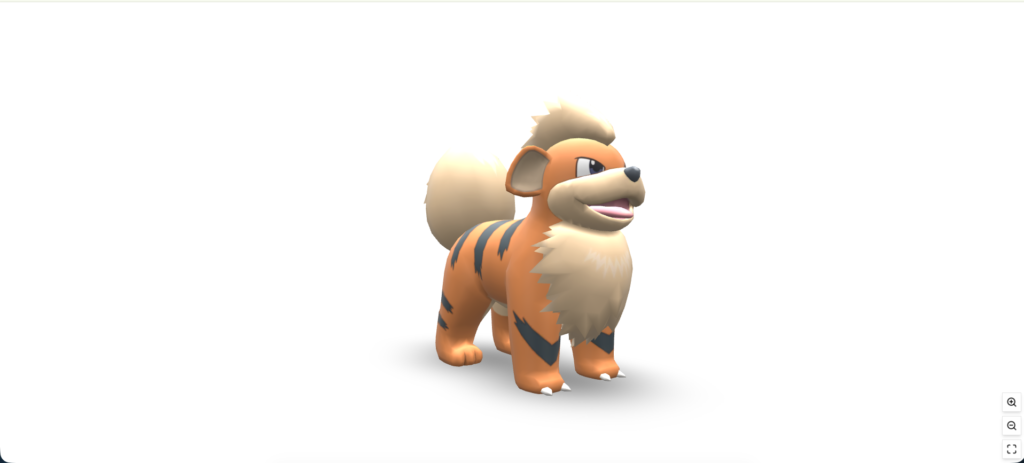
Every model also has its own viewer page at /viewer/<model-id>. Copy it with the Copy viewer link button and share it, or use it as the src of your own iframe.
Notes
Model ID or file URL. The Any Model block also accepts a direct .glb or .gltf URL from Settings > Files. A URL only loads the file, not the model’s saved settings, so prefer the Model ID.
Both fields filled. If a Model ID and a URL are both present, the Model ID wins.
Same model in many places. One model can be used in any number of blocks, pages, and embeds. Change its settings once in the app and every placement updates.
Was this page helpful?